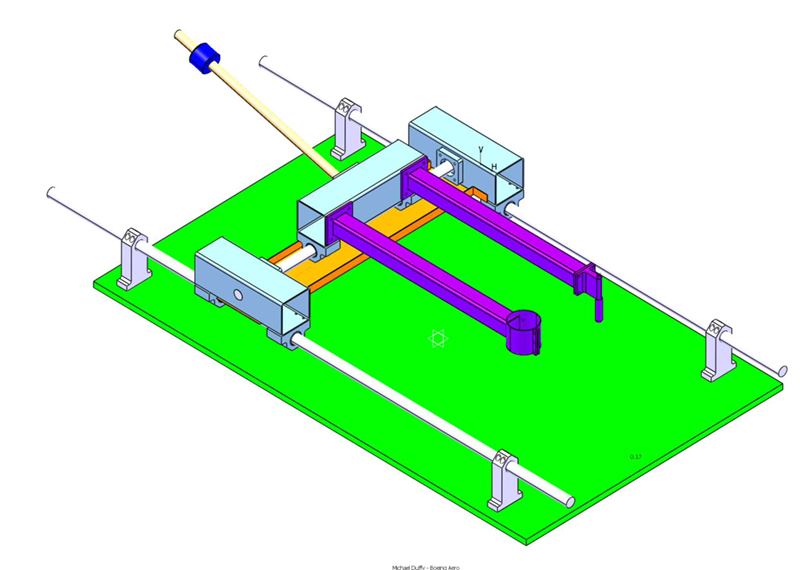
Drawings/Design: by Mark Grabowski, and Michael Duffy
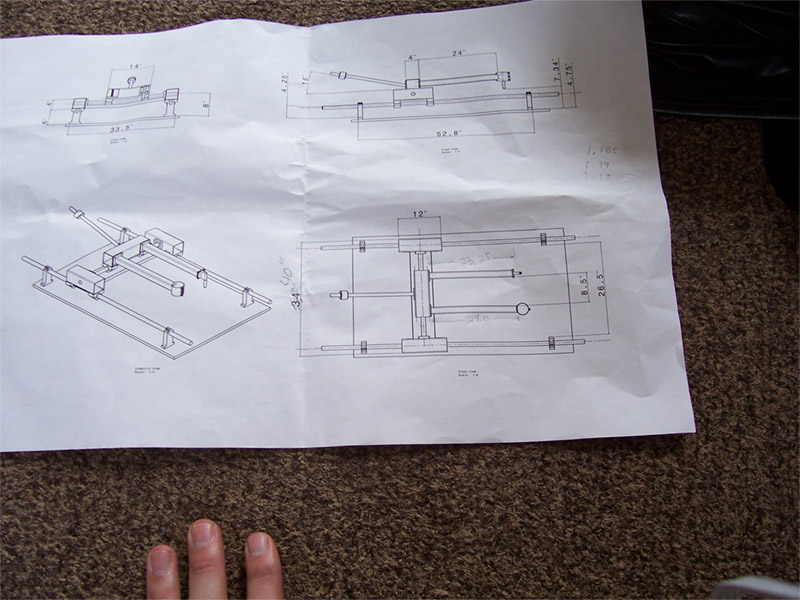
Detailed Drawings (PDF) (1 of 2)
Detailed Drawings (PDF) (2 of 2)
Fabrication: Mark Grabowski, Michael Duffy, Shawn Schembri
More on Fabrication
Video of Propeller Duplicator in Action!
Okay, we decided that it takes to long to hand carve a propeller, so we decided to design and build a propeller duplicator from scratch.
So from beginning to end I will take you through the long, and tedious process of manufacturing this thing. Cause designing it was the easy part.
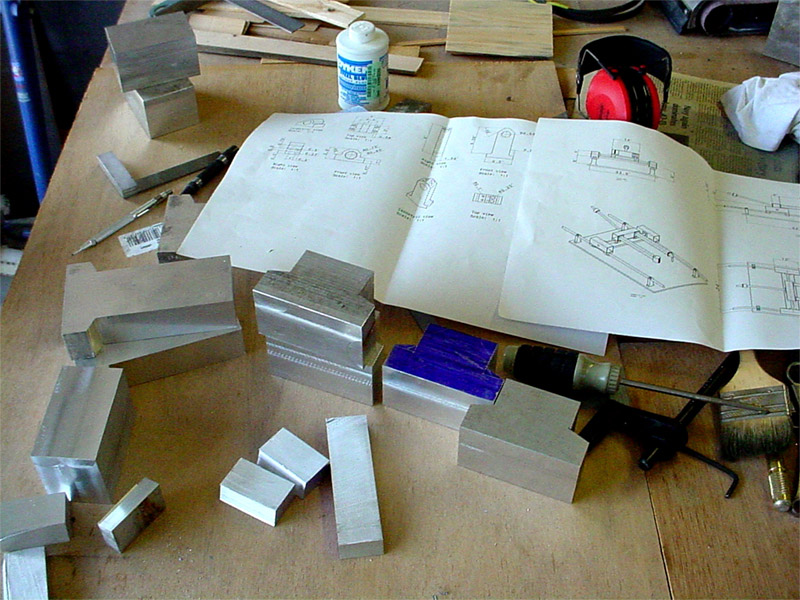
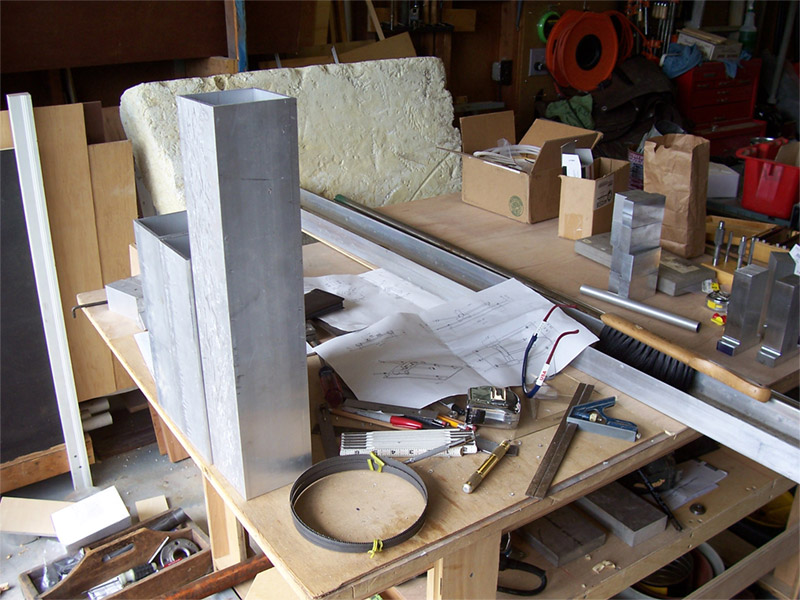
Fabrication: Basically the design was based off of what we thought we could find in the scrap yard. If we could only find a round tube where a square one was suppose to go, then we used the round tube. Periodically there will be slight deviations from design because of this reason. Don't be alarmed, Mark knows everything.
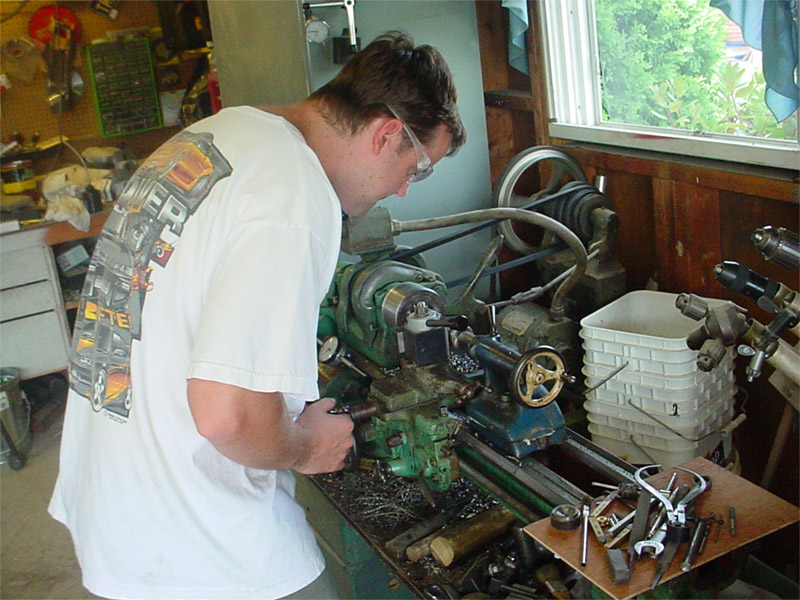
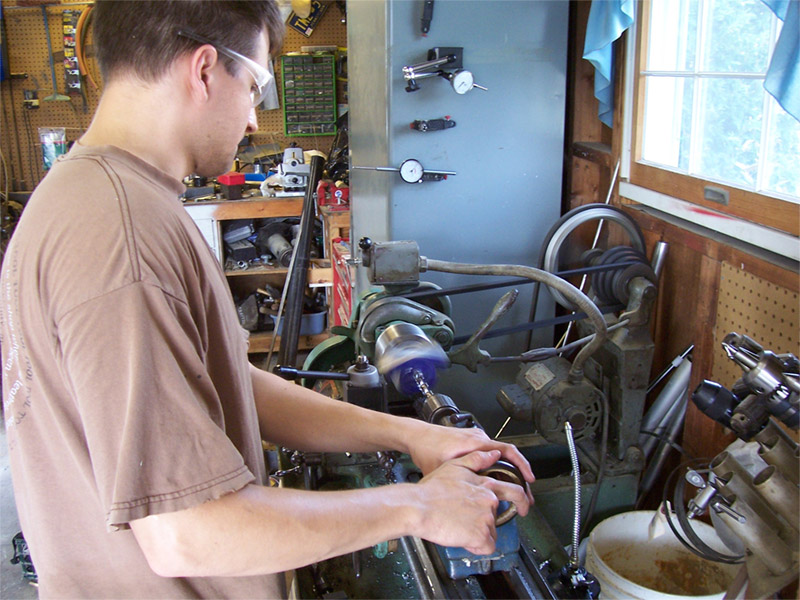
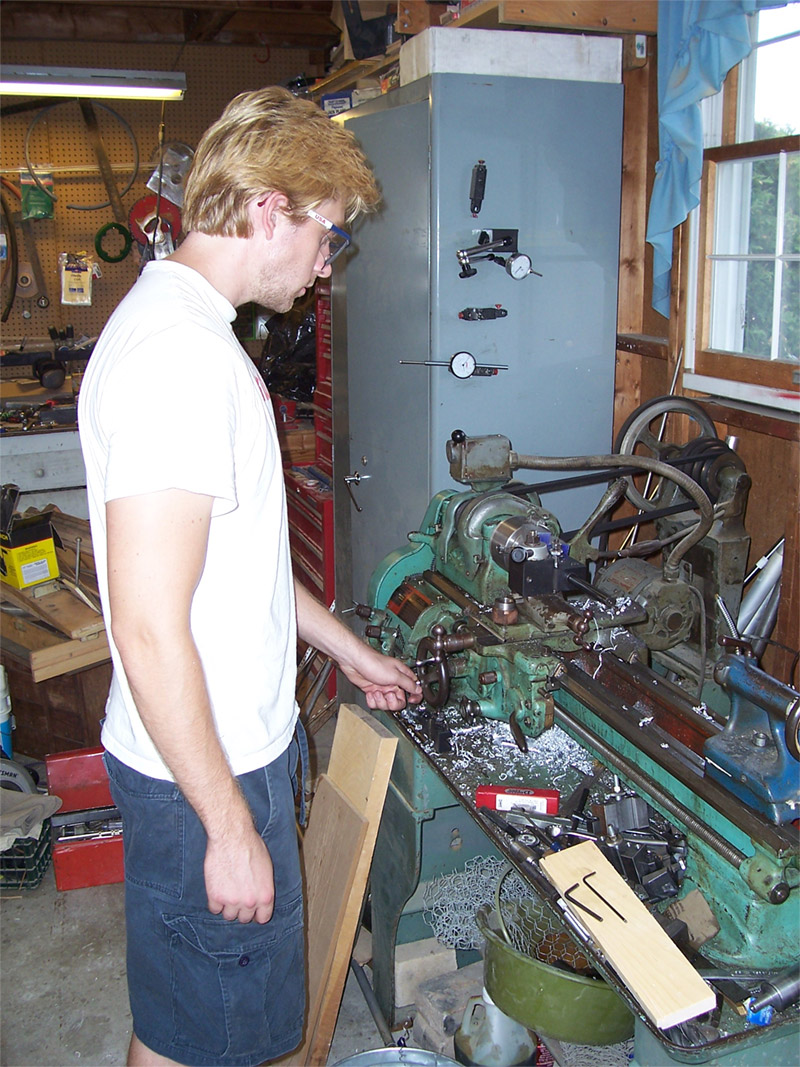
Shawn Schembri on the Lathe
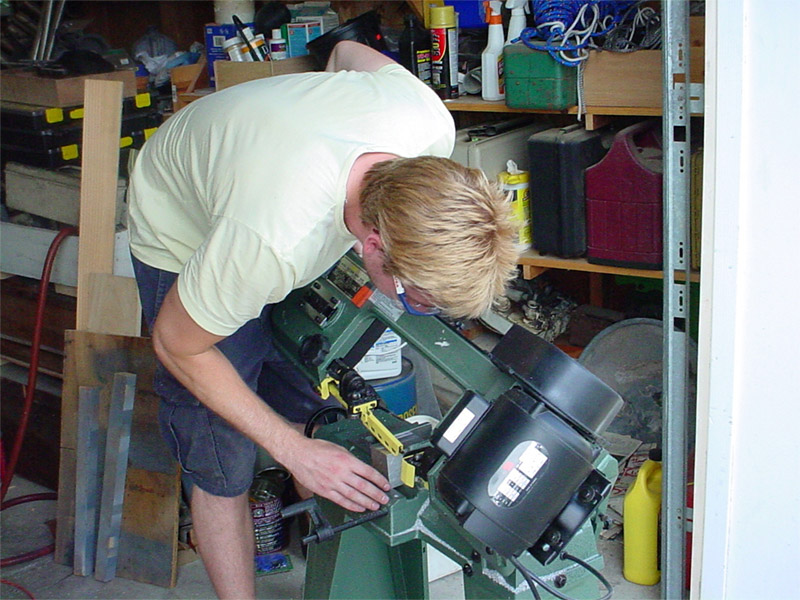
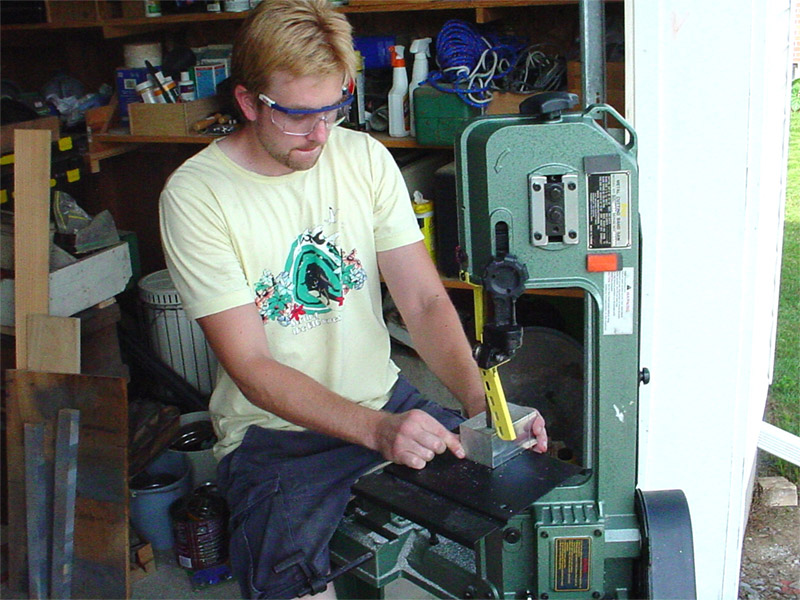
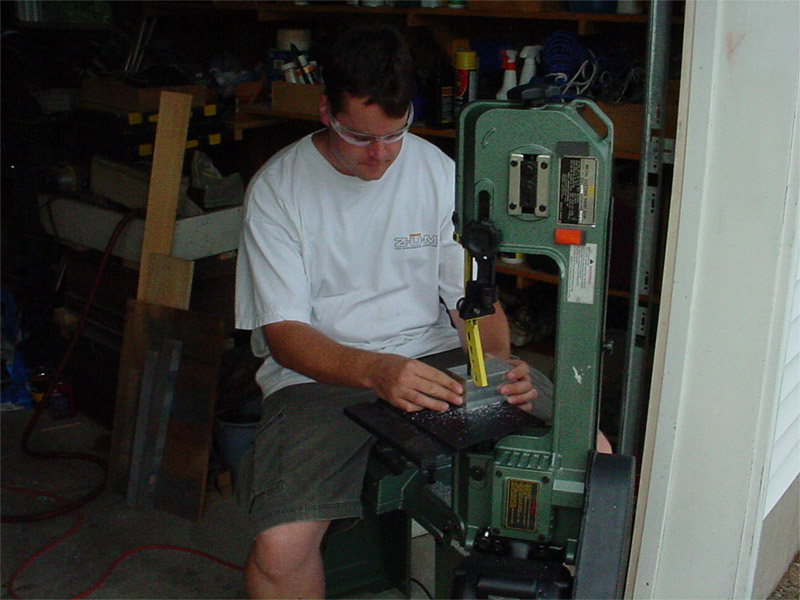
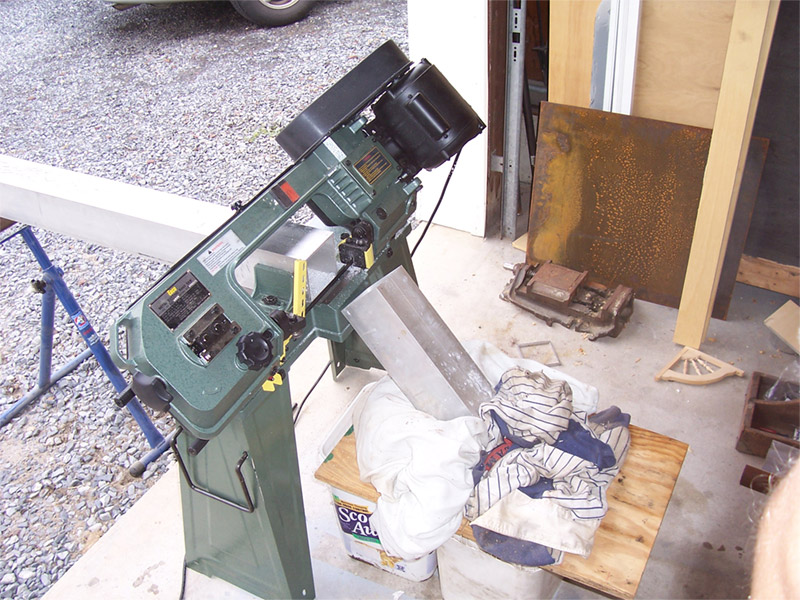
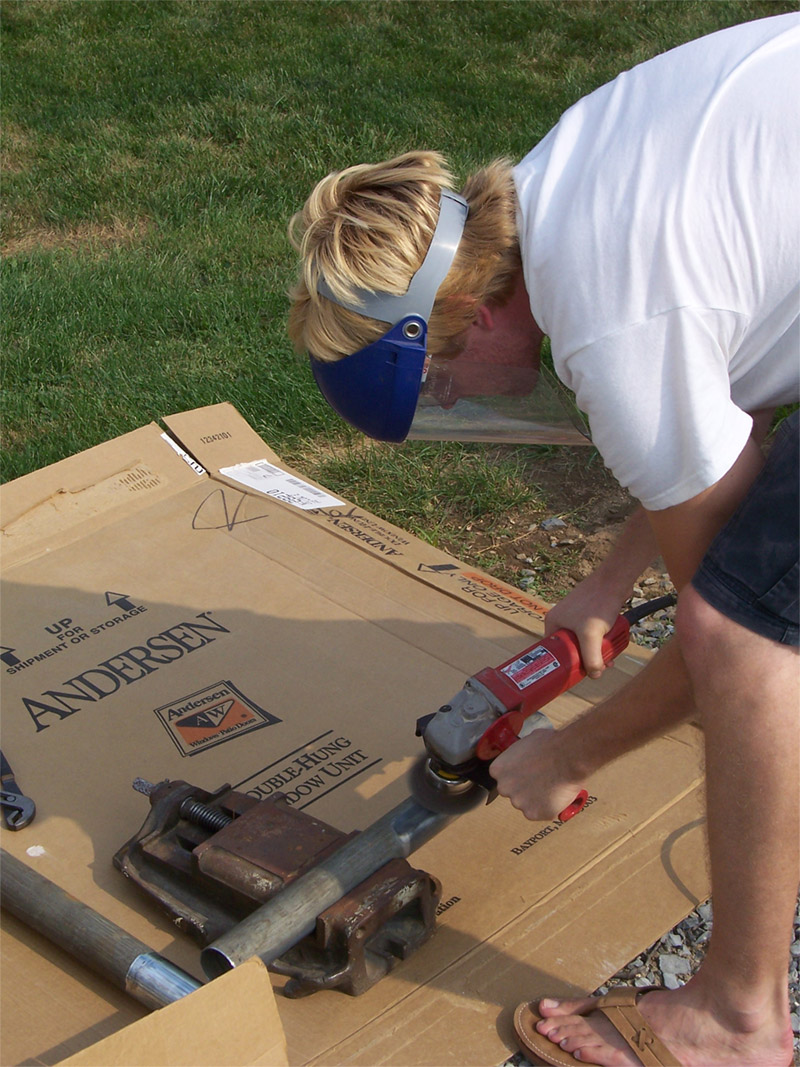
Me on the Band Saw
A hard days work yields a few scraps of Aluminum that are slightly shaped like the drawing, but not quite there yet.
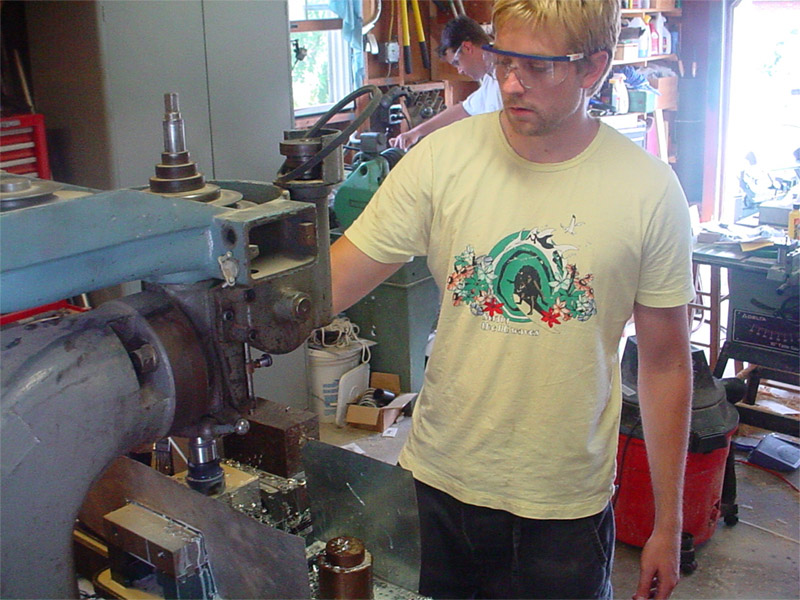
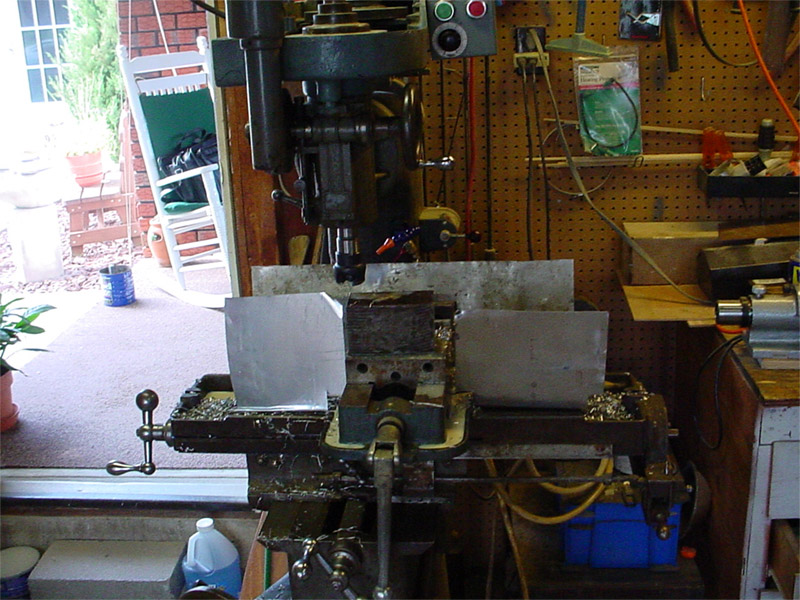
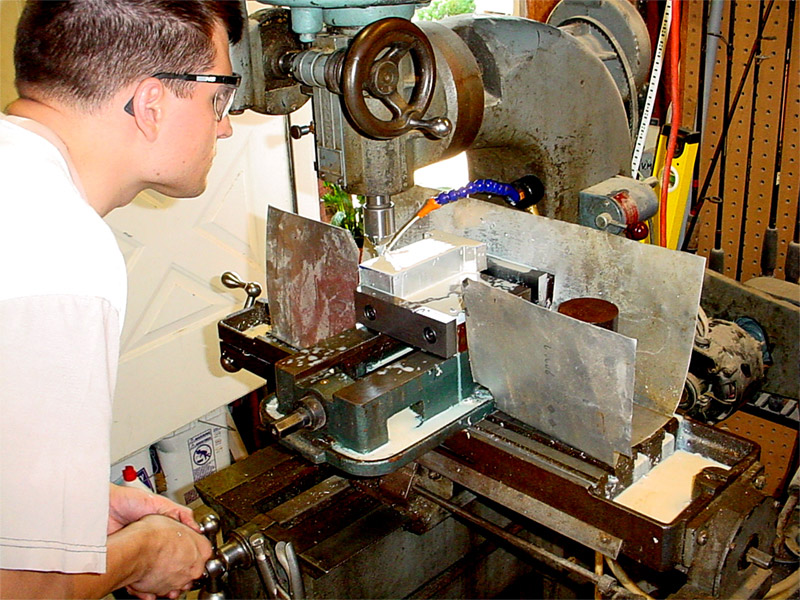
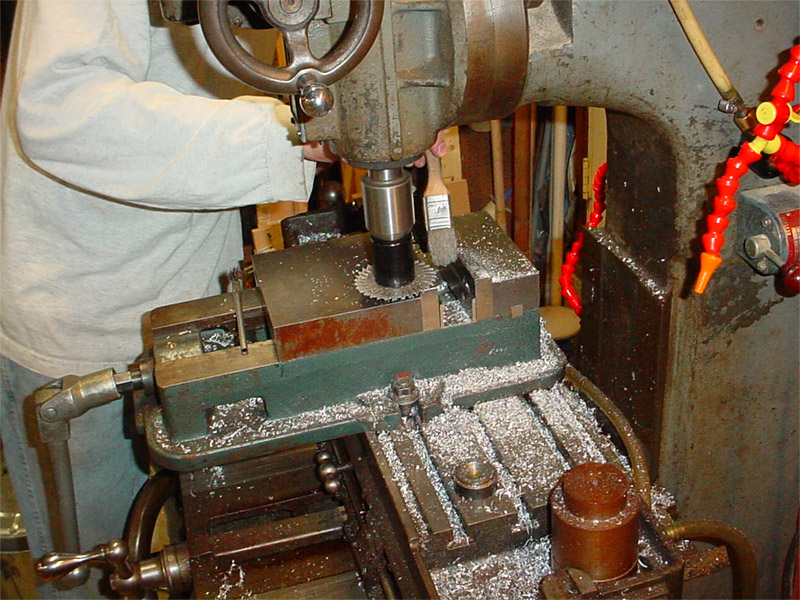
Mark milling
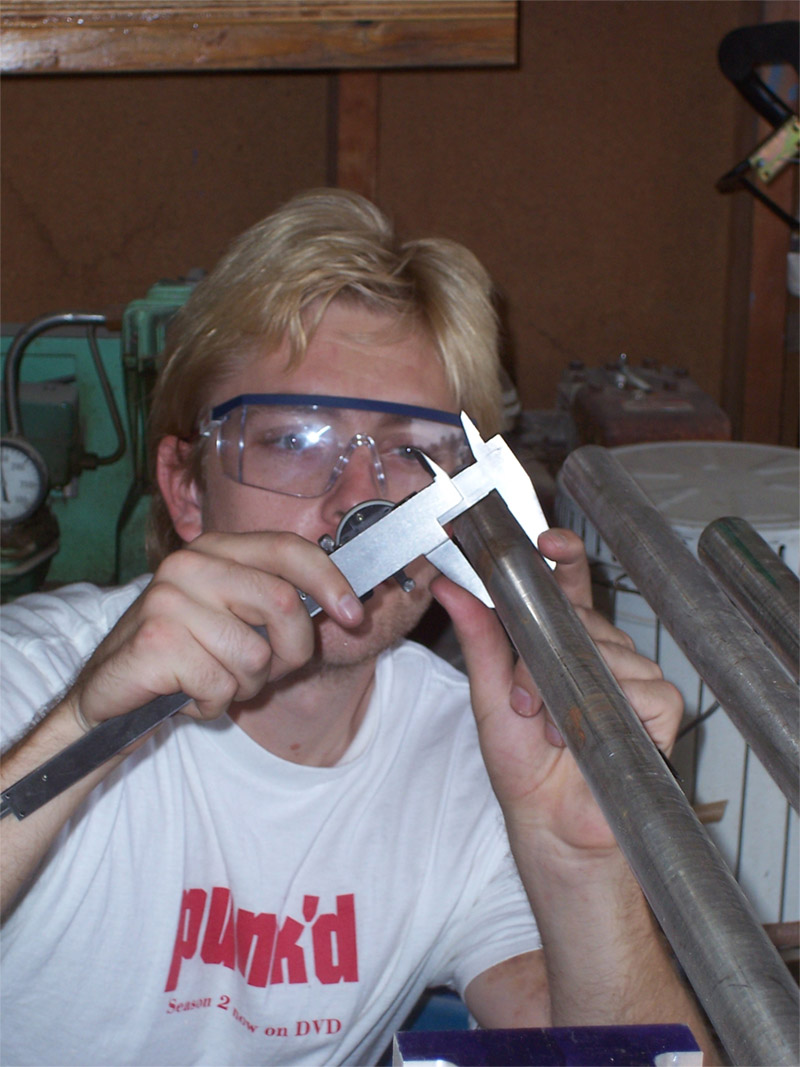
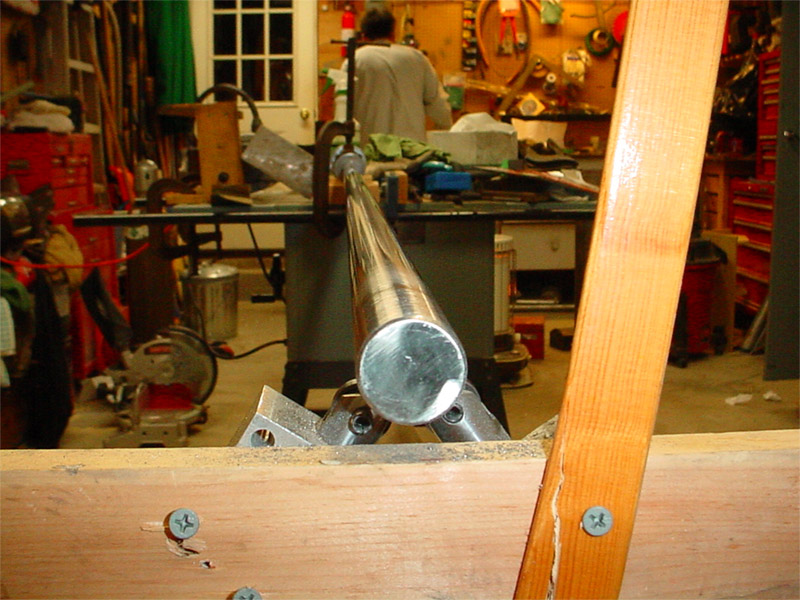
Damn, the Solid Stainless Steal Rods are 8/1000ths of an inch to thick
Getting there.
Easy fella.
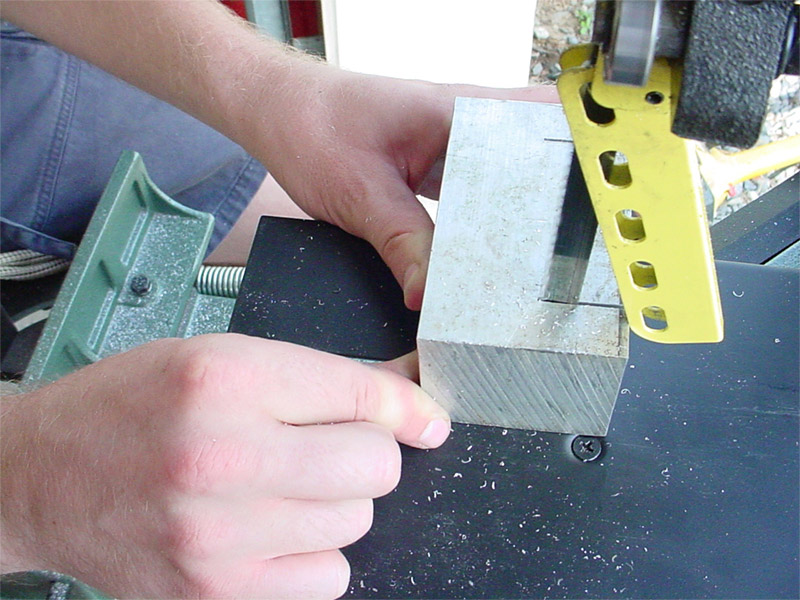
Don't get your fingers caught in there.
Can you believe this project is still going!
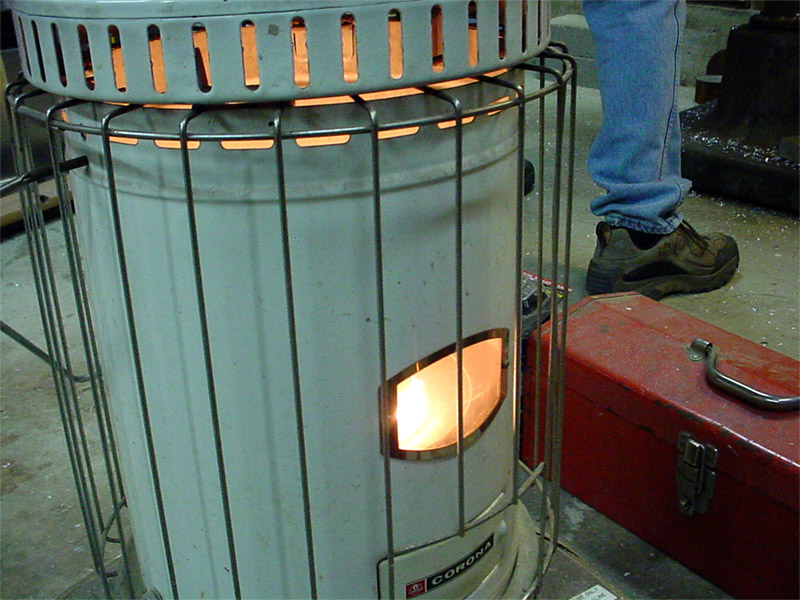
It's cold man.
Okay here is the story: We went to the scrap yard in the summer, and found these great linear bearings, still in the package. We decided that we would get them and find a set of rods that would fit them. However the bearings were from Germany, and hence were metric. This caused a slight problem but luckily we found some rods that fit. Unfortunately they were solid Stainless Steel, and some where a hair to big.
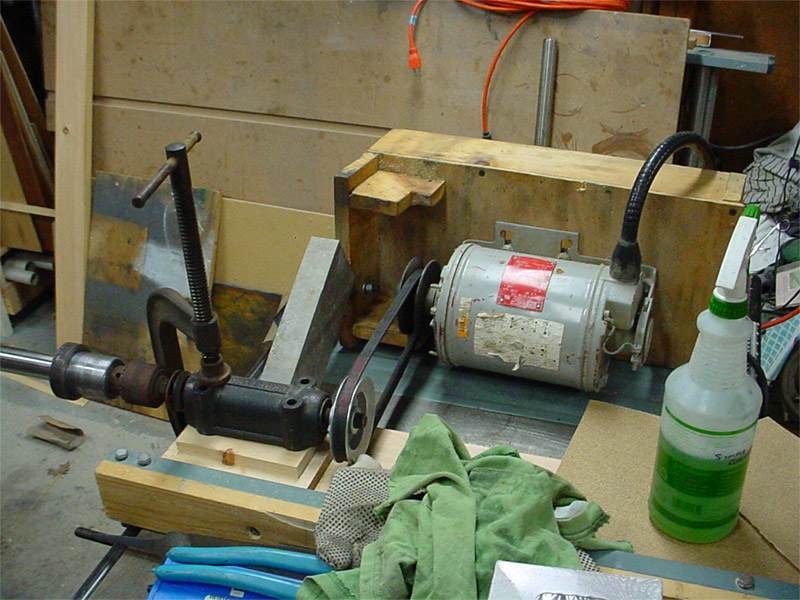
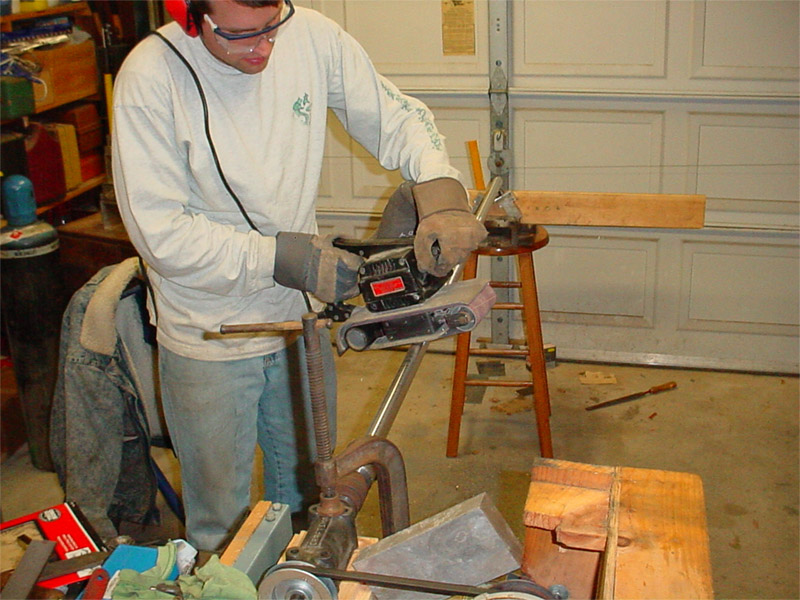
Now fast forward to these pictures... We have to turn down these two 6' stainless steel rods which weight about 60 lbs a piece. Marks Lathe is too small for the job.
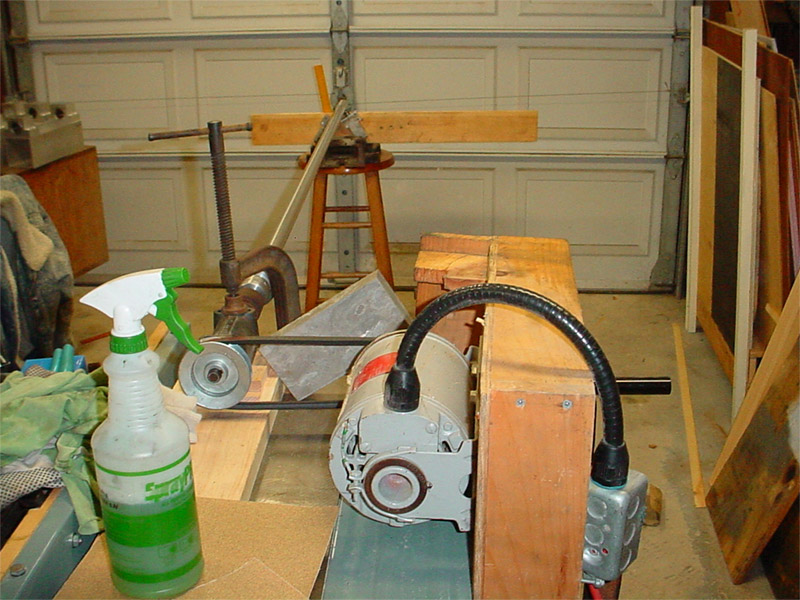
Luckily we have Mark (MACGYVER) to solve the problem.
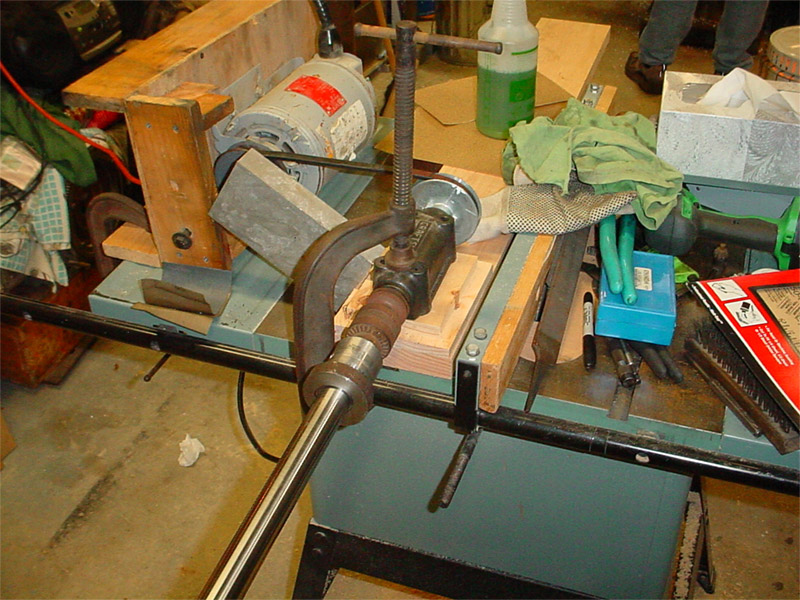
He decides to fashion a home made Lathe with a motor, some pulleys, and an old drill chuck from his grandfather. It took him 45 minutes, and all of the sudden there it was.
The craziest part is, that it actually worked. Sure every once in awhile the 60 lbs Stainless Steel rod would fall out of the 90 year old chuck and almost break our toes, but its all in the name of ingenuity.
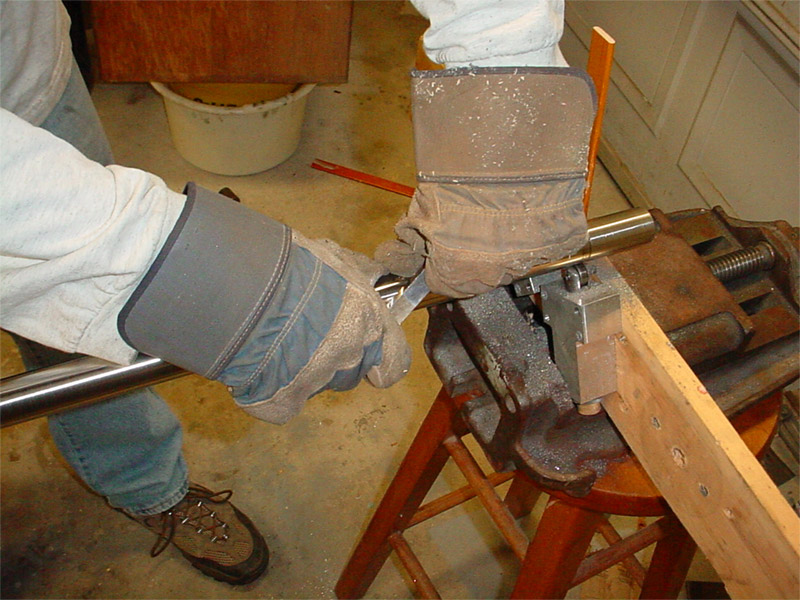
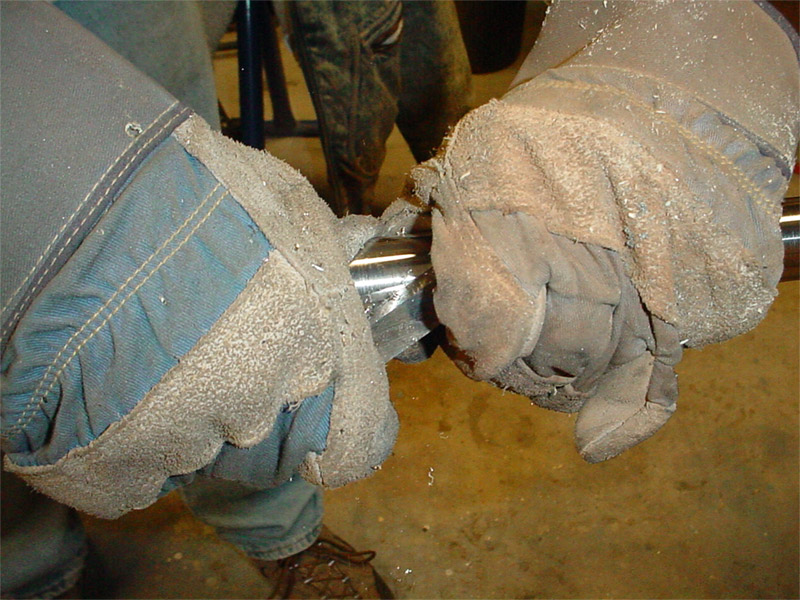
Now, just because we got the thing spinning, doesn't mean it was easy to take 8/1000ths of an inch off this damn bar. NO it was tough. First we tried files, then a lathe tool, then a powered belt sander, and then back to files.
Yes, Mark is using his hands to run along the part with a cutting tool that is usually mounted on a lathe. Wow!
This stupid thing didn't work, it just roughed up the surface.
After 1.5 hours of heart stopping action, and our feet almost getting crushed, we finished, and these babies slide like butter.